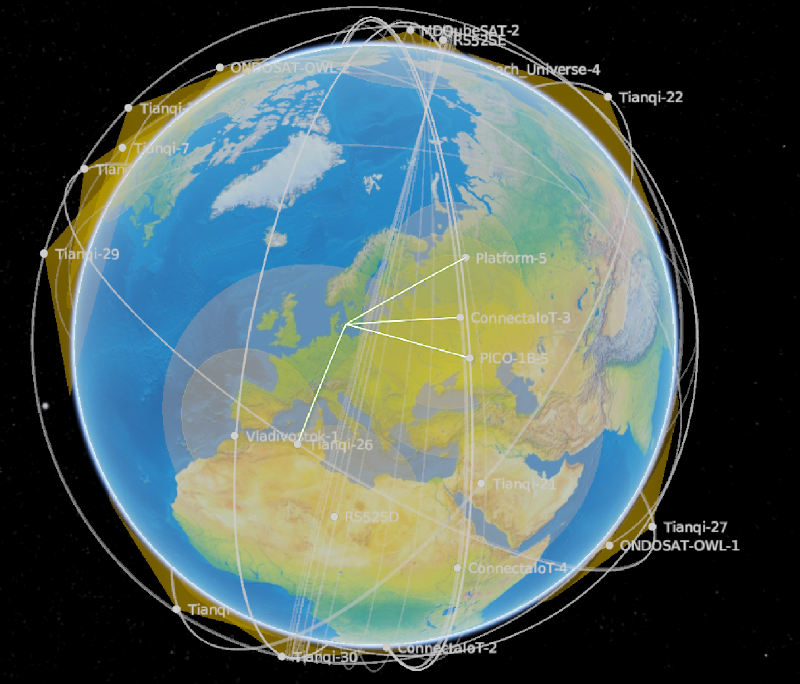
A Global Network of Ground Stations
At 38c3 I attended a workshop on building a sattelite ground stations for communicating with LoRa based sattelites, typically used for research or weather probes.
Generally speaking, these are so called “cubesats”, which are small, relatively inexpensive sattelites usually built up of off the shelf components in a modular fashion. In fact, it turns out that with one of these inexpensive sattelites, a small launch would actually only cost in the range of $50,000-$100,000, not a small amount, but still, a lot more accessible than what you would initially imagine. Combine this with LoRa (literally Long Range) — a proprietary radio communication technique — and you have the components for a globe spanning network of sattelites and amatur ground stations.
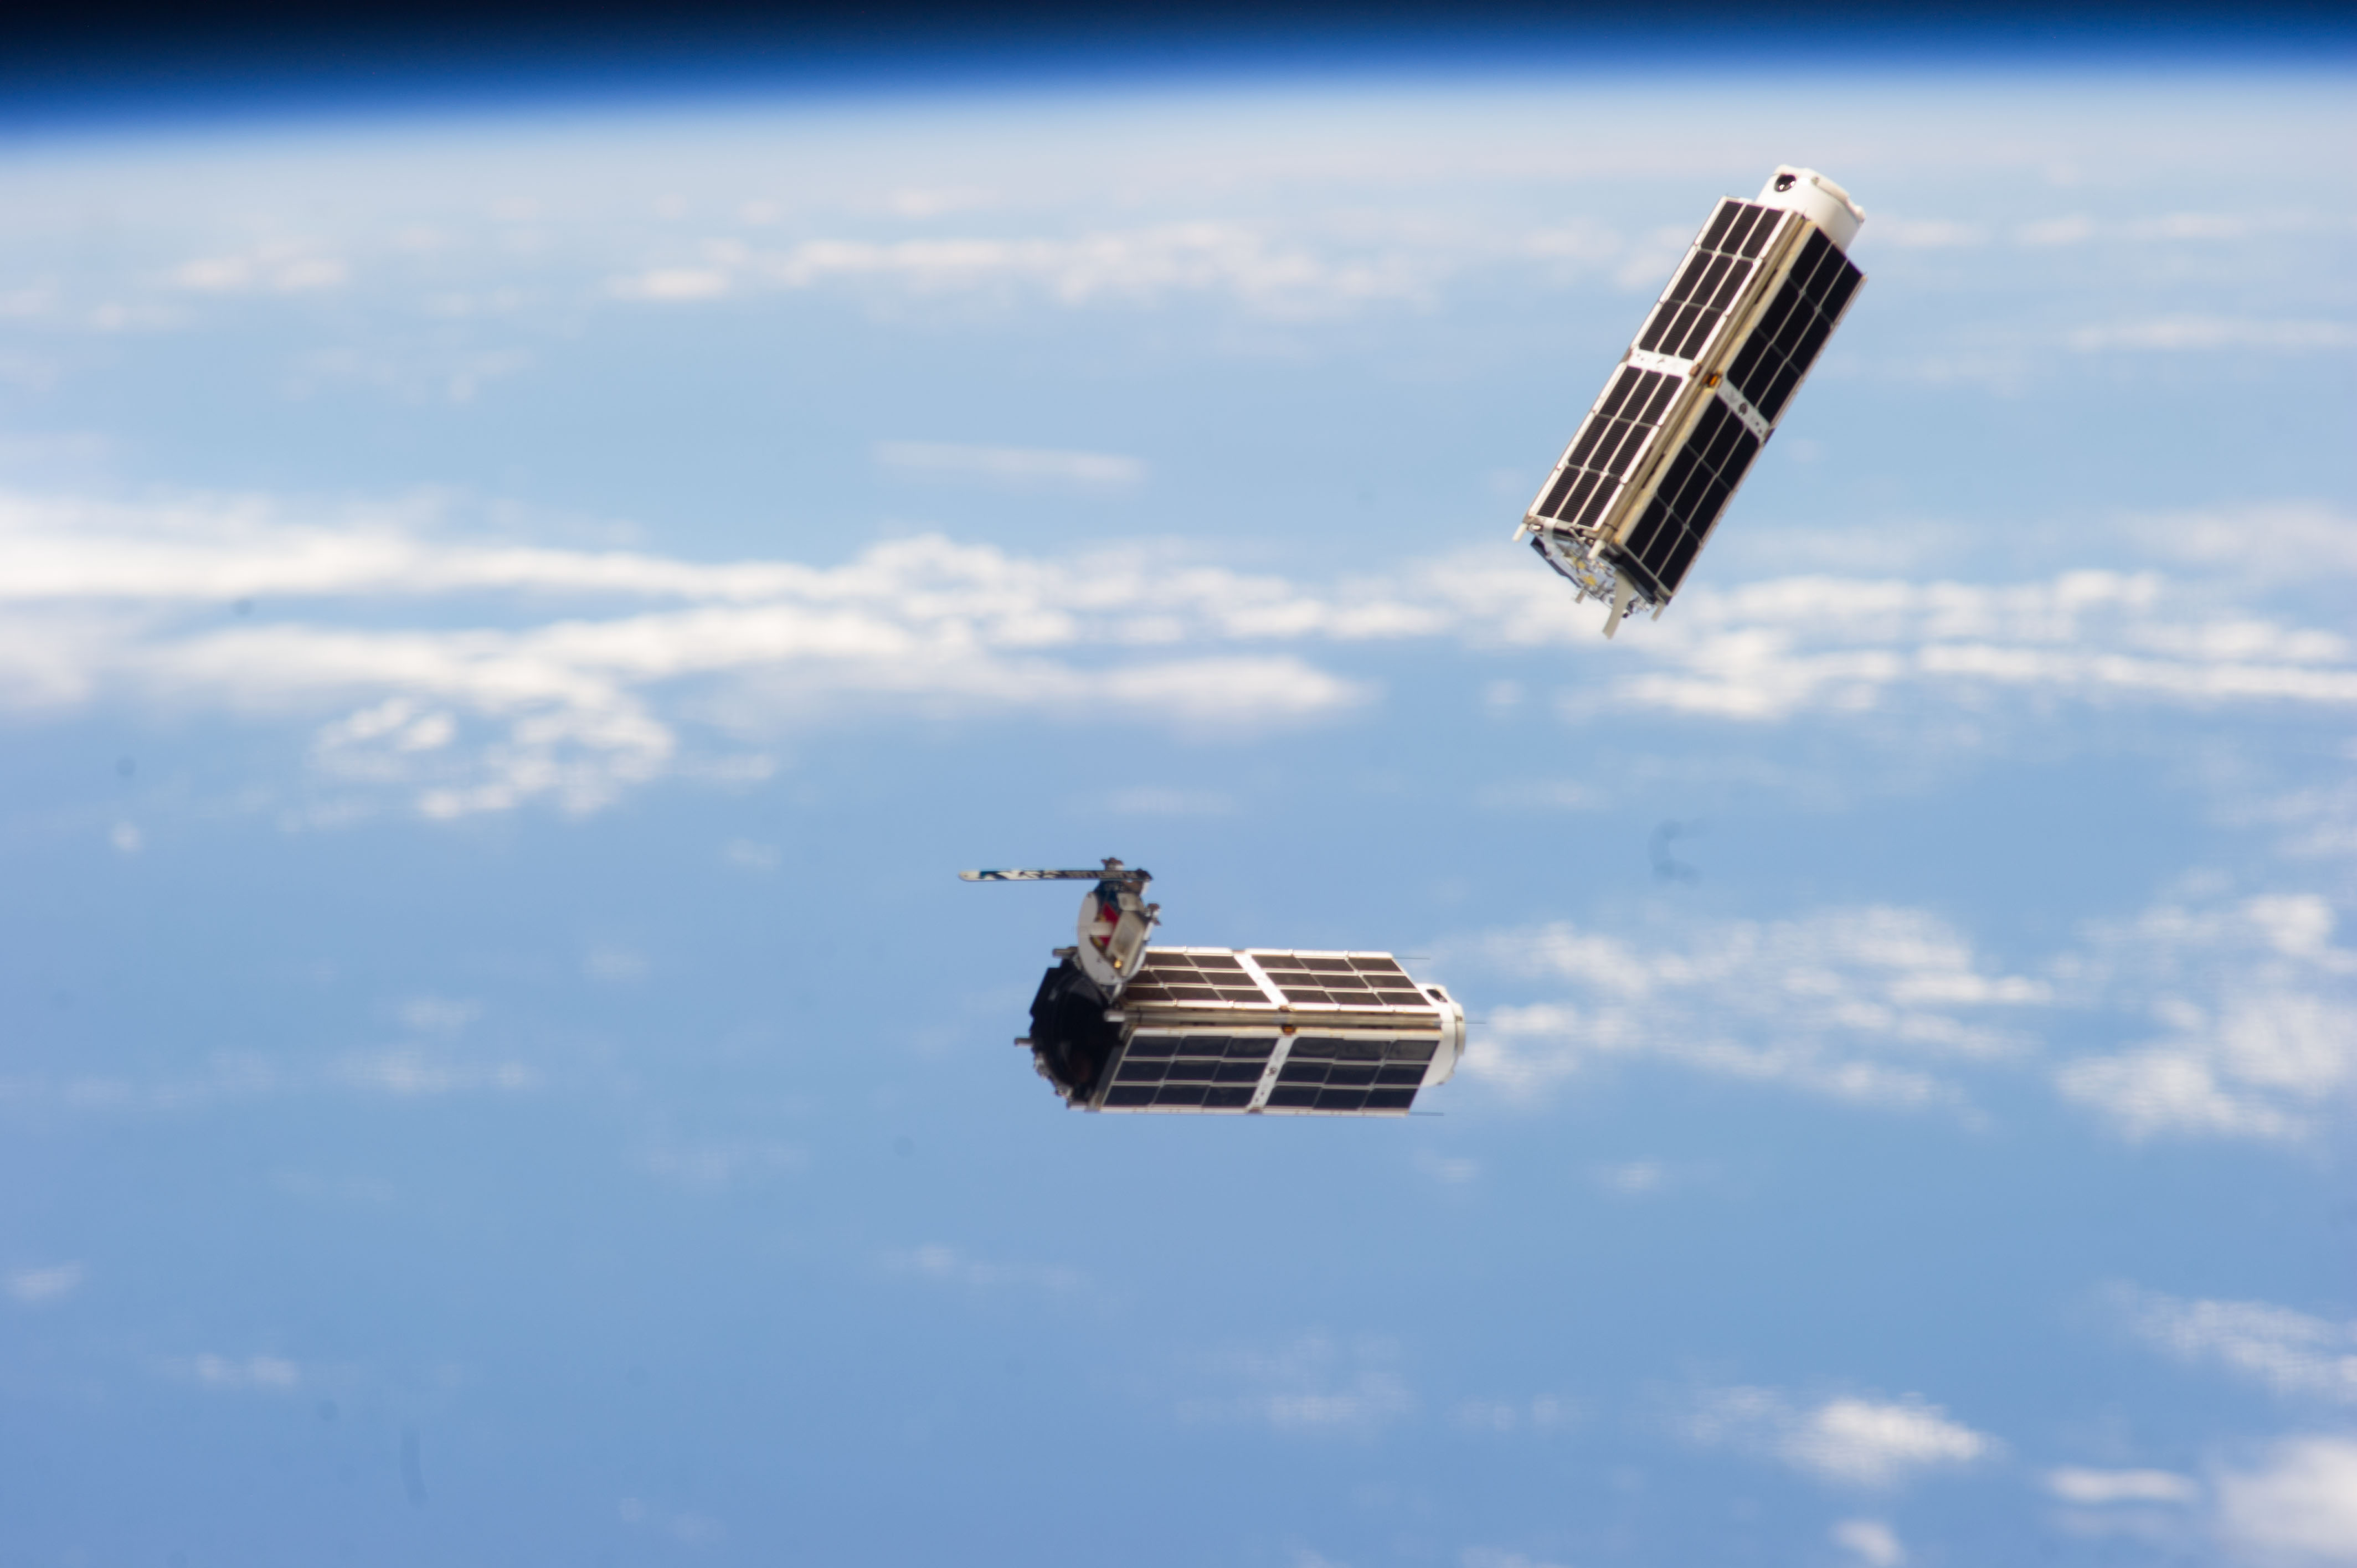
This has lead to a suprising amount of these sattelites currently in low-earth orbit around the globe. Typically these aren’t geostationary (meaning located over the same point on the planet at all times), and so, it is useful for e.g. a smaller university to have access to a globe spanning network of sattelite stations.
TinyGS
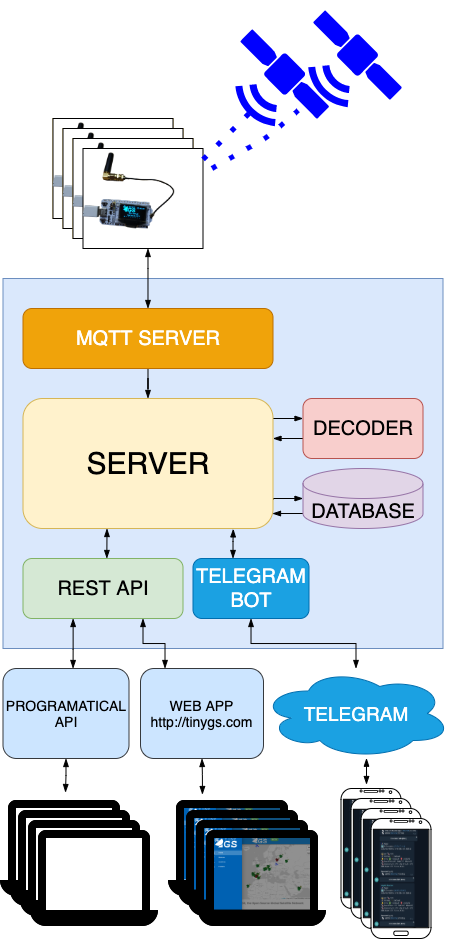
Enter TinyGS, tiny ground stations. TinyGS is an open network of Ground stations distributed across the globe, run by amateurs. It allows operating LoRa based weather probes, sattelites, and other “flying objects”, using consumer electronics.
The basic idea is that you get an ESP32 as well as a some sort of LoRa module, an antenna, and flash the tinygs firmware onto it. Then you just connect it to the tinygs servers using MQTT, and you will be able to opearte your board on the tinygs website, as well as being able to contribute to the global sattelite tracking effort.
Build your own Ground Station
Hardware
If you wanna build your own, the easiest possible route is just to acquire a
LoRa32 V2.1_1.6 - 433MHZ CH9102F board. Usually you can find these online, and
make sure that you get one with a small antenna.
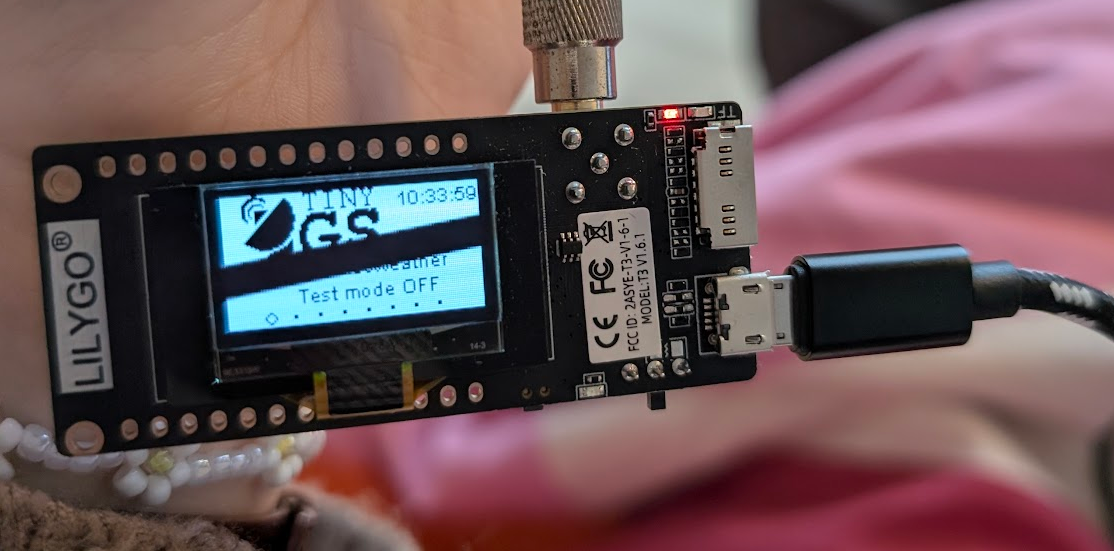
You’ll need to flash the firmware, the easiest way is to use the TinyGS web flashing tool, and sorry, but you’ll need to use a chrome based browser for this.
Setup
What’s worse, you’ll also need to install telegram, and create an account, as the TinyGS projects communications mainly happen there, and that means the registration bot for your new board also lives on telegram.
Join the TinyGS telegram group
here, and then start a
conversation with the tinygs personal bot
here. Also, make sure you join the TinyGS
community chat in the group first, as the bot will require you to be a member
before signing you up. When you are in that chat, send the /start command to
the bot for some info about it’s usage. You’re mainly just interested in the
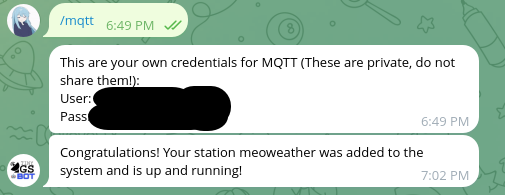
/mqtt command, which gives you your credentials for the mqtt server.
Now with your credentials, and your participation in the TinyGS community (hi!), you’ll want to plug in your flashed board. After a few moments, it should start it’s own WiFi AP, that you can connect to. On the screen of your board, it should show the IP address that you’ll then want to connect to on the boards WiFi. This will give you a configuration inteface.
Here, you enter the configuration, and then configure a ground station name,
create an admin password (to be used with the admin account), enter the WiFI
SSID and Password that you want the board to use for internet connectivity, your
lattitude and longitude (this doesn’t have to be exact, but should be vaguely
correct withing 25km~ because it is used to determine what sattelites to try and
connect to), and a timezone. Further, you’ll want to add your MQTT credentials
from the telegram bot.
If you’ve done everything correctly, you’ll receive a message on telegram from the bot, like I did in the above screenshot. You’re now on the network.
Start operating your sattelite
After you’ve setup your station, you’ll want to /login with the bot to be able to operate it fully.

This will give you access to even more information about your device, and the ability to edit it’s description and image, and to control how it is tracking sattelites, or setup manual tracking if you wanna just track something specific, or you don’t like the automatic selection.
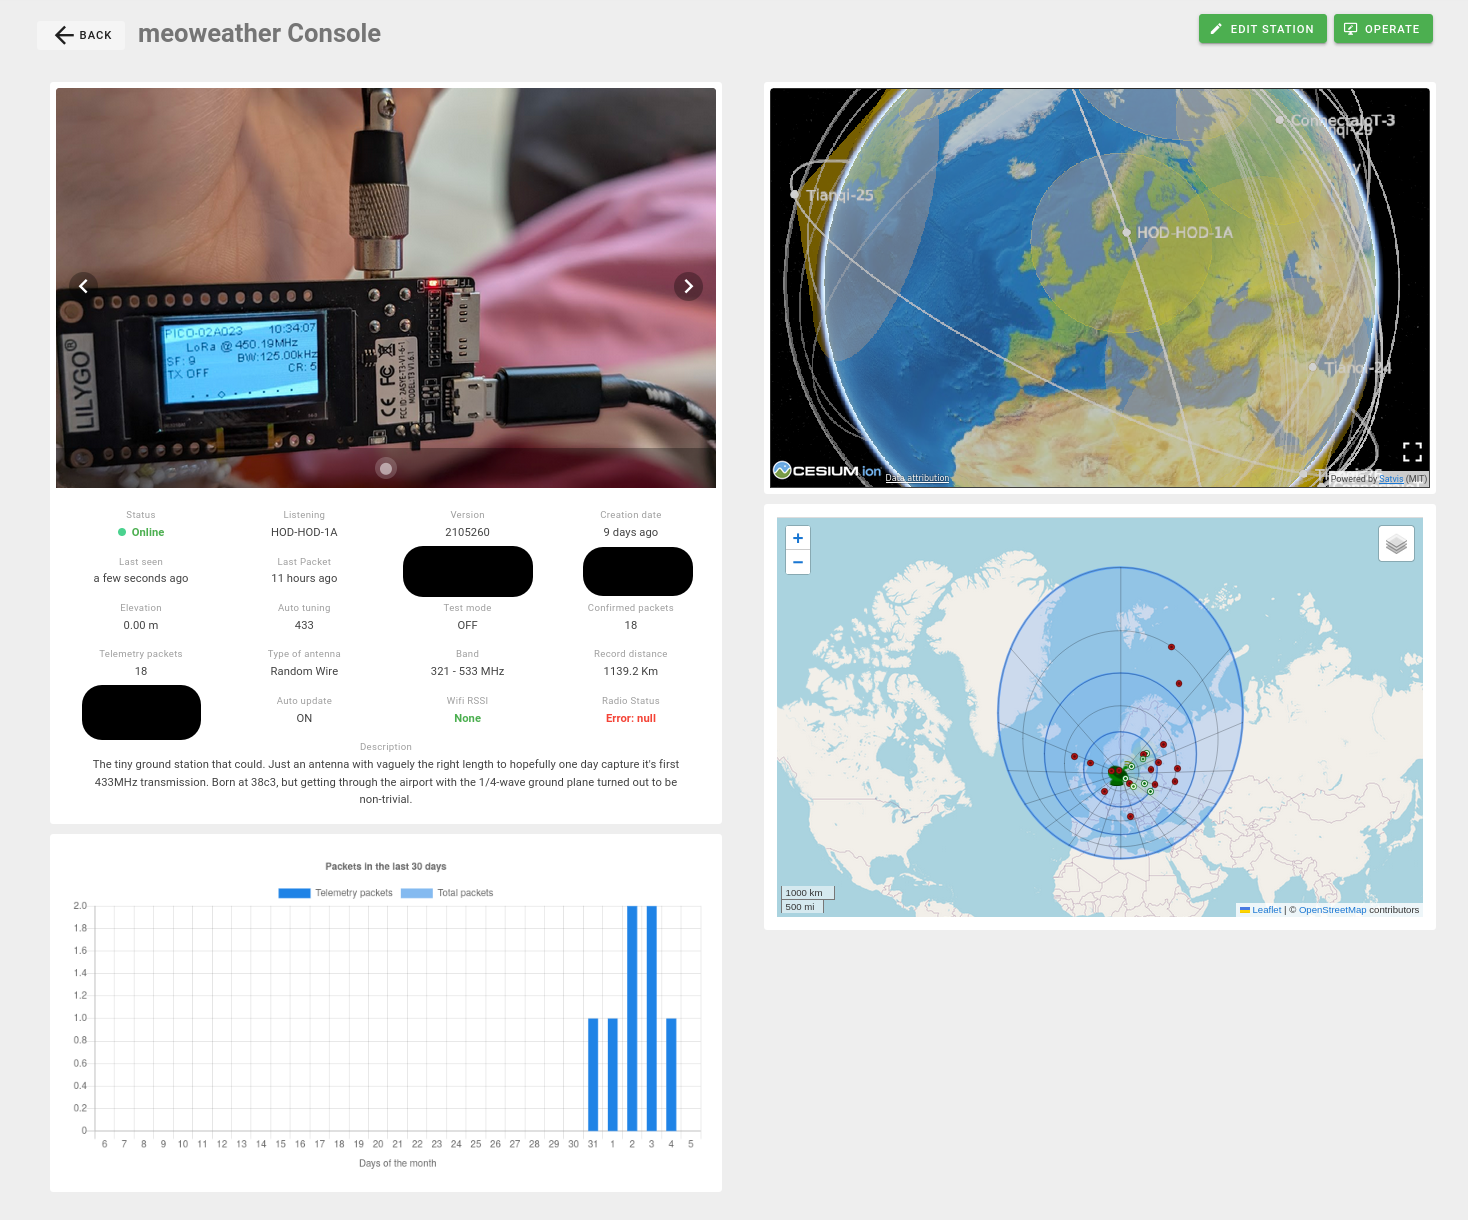
Below that, you’ll find a log of the packets you have recieved so far.
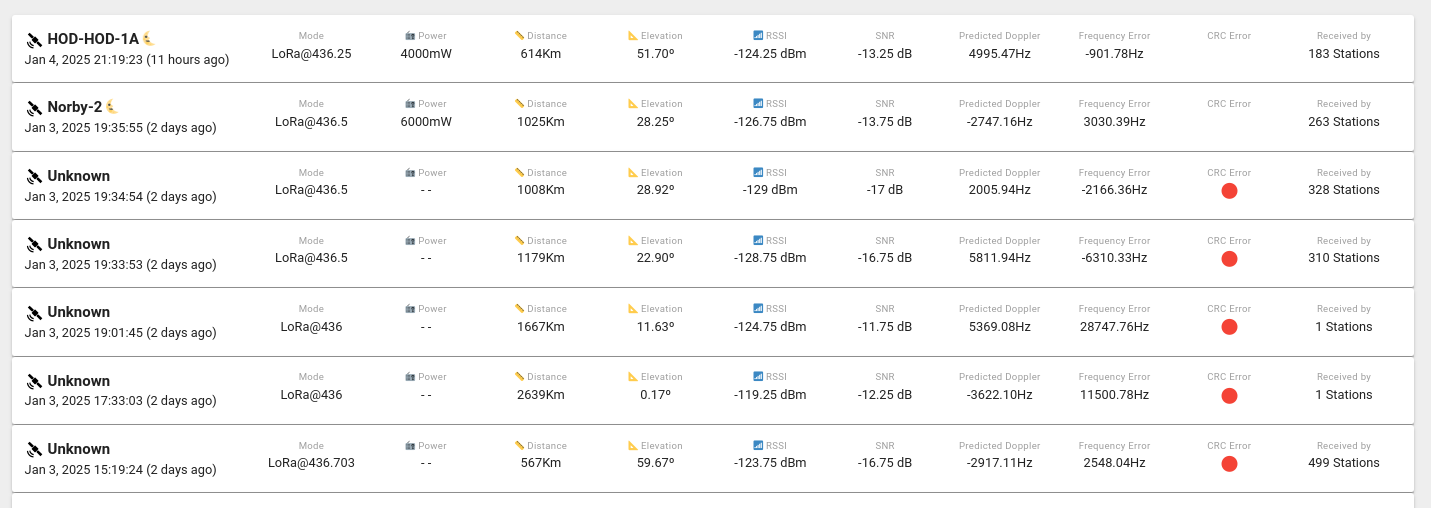
Notice here that the red circle indicated a CRC checksum error, meaning you recieved a faulty package. Also notice that there are two packets with a CRC error that were caught by just one station (meaning just your station). In this case, if you click on the packet, you’ll get the text that:
Unrecognized packet. This packet does not match the known structure of this satellite. It might be an unknown packet or just terrestrial noise.
However, for those that don’t have a CRC error, that’s a real sattelite packet you’ve caught. Well done!. If you click on it you can even read the details about what you caught.
For example, the HOD-HOD-1A capture from above provides the following information when you click on it.

As you can see, it shows what the content of the packet was, both as text, hexadecimal, and parsed json that you can expand and browse through. Below that, you’ll see a list of other stations that caught the packet. The view to the side shows the geographical location of the stations that caught the sattelite communication.
I wanna capture more packets!
As you will likely realize after running your station for a few days, you’re probably not capturing a lot of packets. This is because the default antenna doesn’t really perform well, and likely, you’ll also ideally want to make sure that your station is outside, and isn’t obstructed, and that weather conditions are favorable (anecdotally, I also tend to capture much more packets at night).
I’ll not elaborate more on this in this post, as it is something I’m working on myself, but I may follow up later with a separate post on what it takes to increase the amount of packets you capture. In short, you’ll want a 1/4-wave ground plane antenna.
Obligatory Conclusion
With inexpensive consumer hardware, it is possible to build your own sattelite ground station, and join a globe spanning network of space enthusiasts capturing sattelite data.
That is pretty cool :3
